

How to Build a Stone Walkway: Expert Tips for a Lasting Pathway
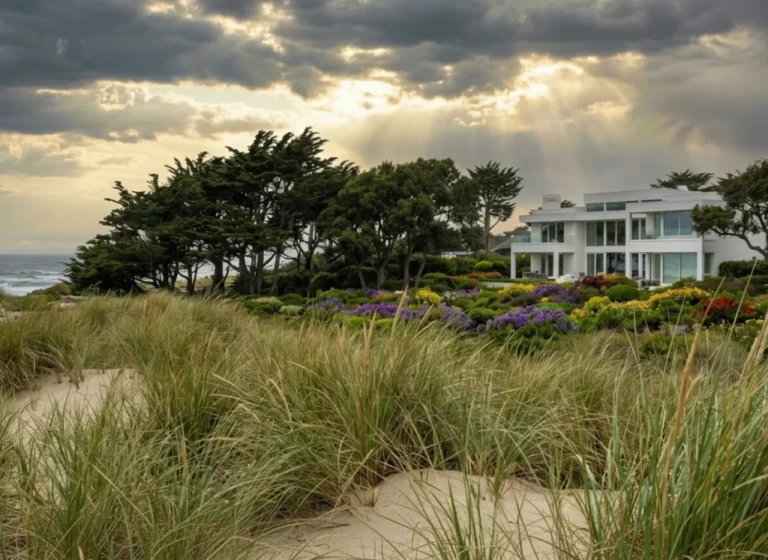
Building a stone walkway is a fantastic way to enhance both the functionality and beauty of your outdoor space. In a unique location like Martha’s Vineyard, choosing the right materials and design can ensure your pathway blends seamlessly with the island’s natural charm. Whether you’re planning a winding garden path or a practical entryway, this guide will walk you through each step while offering expert tips for a durable, visually appealing result.
Stone Walkway Basics
A stone walkway is a hardscape feature composed of natural or man-made stones carefully laid on a prepared foundation. Unlike concrete or asphalt paths, stone walkways offer an organic, timeless look. Depending on your choice of stone—such as flagstone, bluestone, or granite—you can achieve a range of styles, from rustic to modern. In coastal climates like Martha’s Vineyard, stone walkways must be installed with extra attention to drainage and stability to withstand shifting weather patterns.
Planning and Design


Begin by determining the primary purpose of your walkway. Is it a functional path for high foot traffic or a decorative trail through a garden? Consider the walkway’s width, the overall shape (straight vs. curved), and any existing landscape features you want to highlight or work around.
- Map the Area: Use stakes and string to outline the proposed path.
- Account for Climate: Martha’s Vineyard’s coastal environment can be humid, so select stones resistant to moisture and temperature changes.
- Check Regulations: Verify local guidelines or community regulations before starting your project.
Choosing Materials
Several popular stone options include:
- Flagstone: Offers a natural, flat surface and a range of earthy tones.
- Bluestone: Known for its durability and consistent thickness, making installation simpler.
- Granite: Extremely robust, ideal for high-traffic areas.
When it comes to costs, keep in mind that stone prices can vary by up to 40% depending on factors such as quality and source. On Martha’s Vineyard, additional shipping or sourcing requirements can increase costs by another 10–20%. However, investing in quality stone often leads to lower maintenance expenses over the long term.
Preparing the Ground
- Clear the Path: Remove any grass, roots, or debris within your staked-out area.
- Dig a Base: Excavate to a depth of around 4–6 inches (possibly 10–15% deeper in softer soil).
- Lay a Foundation: Fill the trench with gravel or crushed stone, then level and compact it. This foundation ensures stability, which is crucial in regions with varying weather conditions.
- Add Sand or Stone Dust: Spread a thin layer on top of the compacted base to help position and level the stones.
Proper preparation prevents water from pooling beneath the stones, reducing the risk of shifting or cracks—an important factor in any coastal environment.
Laying the Stones
- Dry Fit: Arrange the stones on top of the sand or stone dust before setting them in place to determine the best layout.
- Install Each Stone: Begin at one end, setting each stone firmly and checking for level. Adjust the sand underneath as needed.
- Fill the Gaps: Sweep sand or polymeric sand into the joints between stones. Gently mist the surface with water to help the sand settle and lock the stones in place.
By carefully leveling and spacing your stones, you reduce trip hazards and create a cohesive, attractive appearance.
Check our Instagram video of one patio project, build-up from the ground.
Also, you can check many other videos on our Estate Care Instagram profile page
Finishing Touches & Maintenance
- Optional Edging: Install metal or plastic edging along the perimeter to prevent stone movement.
- Set the Walkway: Lightly water the walkway once installed to help everything settle.
- Ongoing Care: Sweep the pathway regularly to remove debris. Refill joints with sand if you notice any washout.
- Winter Concerns: Use stone-friendly de-icing solutions. In coastal regions, salt air and humidity can increase maintenance needs by around 10–15% compared to inland locations, so plan accordingly.
A well-installed walkway, combined with routine upkeep, can last for decades and remain as inviting as the day it was laid.
Conclusion
A stone walkway can be a stunning addition to your home, offering both function and style. By carefully planning and designing, choosing the right materials, and focusing on a proper foundation, you’ll create a pathway that endures Martha’s Vineyard’s coastal conditions. Although stones can cost 10–20% more in transportation and handling fees, the long-term value—enhanced curb appeal, reduced repairs, and a unique connection to the island’s natural beauty—makes it a worthwhile investment.
Consult with professionals
Ready to transform your outdoor space with a custom stone walkway? At Estate Care, we specialize in designing and installing walkways that blend seamlessly with Martha’s Vineyard’s distinctive landscape. Contact us today to discuss your vision or schedule a free consultation.
FAQ
How long does a stone walkway typically last?
With proper installation and routine maintenance, a stone walkway can last for decades—often 20–30% longer than other materials—especially in moderate climates.
Can I install a stone walkway myself?
Yes, it’s possible, but working with a professional ensures fewer errors, particularly in coastal areas with unique soil and moisture conditions. A professional can optimize drainage, select the right materials, and advise on long-term care.
Are there seasonal considerations for building a stone walkway on Martha’s Vineyard?
Absolutely. Extreme temperature shifts and coastal humidity can affect the installation process. Aim for late spring or early fall, when the weather is milder, to reduce complications from heat, moisture, or freezing conditions.
What is the best way to clean and maintain a stone walkway?
Regularly sweep away leaves and debris, and rinse with a gentle stream of water. For stubborn stains or algae, consider using a mild, stone-safe cleaner. Avoid harsh chemicals that could degrade the stone’s surface over time.
How do I choose the right type of stone for my property?
Take into account your local climate, soil composition, and aesthetic preferences. Stones like bluestone and granite are popular for their durability, but the final decision often comes down to balancing cost, color, texture, and overall design goals.

Questions About Your Property?
Our team is always happy to talk through your specific situation - no commitment required.